
 |
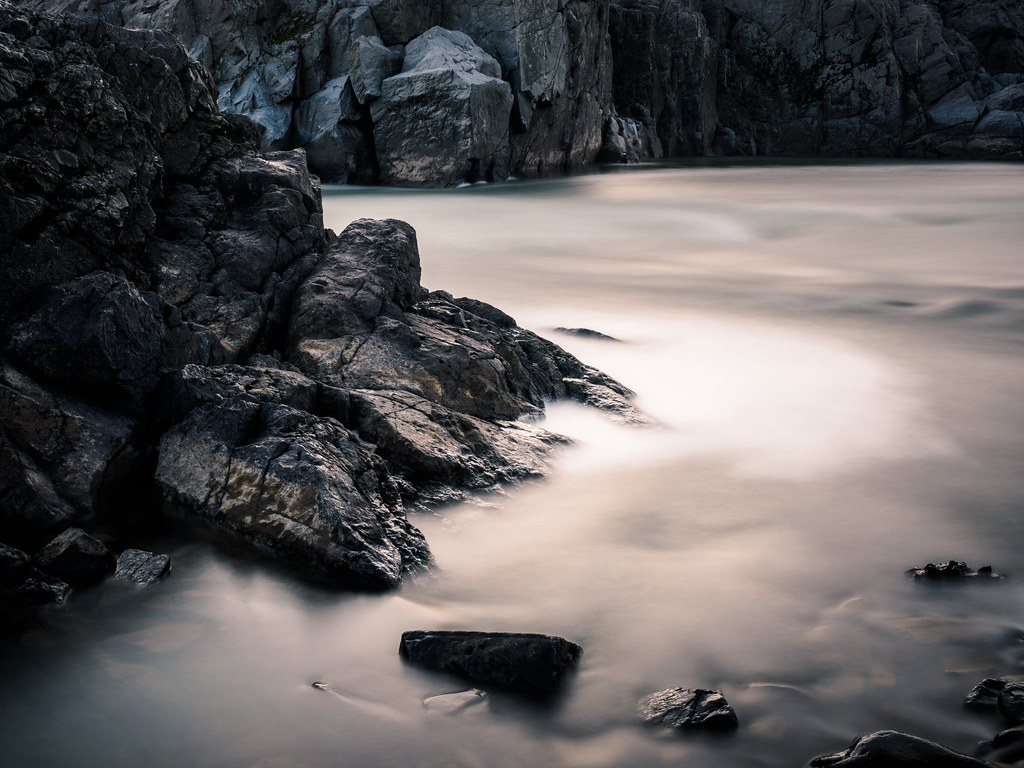
| Olympus OMD E-M1 and M. Zuiko 12-40mm f/2.8 PRO with B+W 10-stop ND. 20mm at f/11, ISO 200 and 50" exposure time. |
I'm sure it comes as no surprise to anyone that I have a strong affinity for long exposures. When I first picked up Photography: The Hobby back in the middle school years it was with direct intent to capture streetlight scenes as they spoke very loudly to my muse in those creatively formative years. It wasn't for many years that I finally adopted photography in the daylight, handheld, as a remotely viable exercise of the art form.
The idea of long exposure photography is very foundational to the history of photography itself because the original light-sensitive materials were extremely slow to expose, thus all photography was done with long exposures. You'll read about it in any history-centric article regarding back braces and rigid posing contraptions necessary to keep the subjects of old-timey portraits still for the duration of their photograph. Personally, I'd argue that every photography student coming into the hobby for the first time would benefit more being limited to tripod-mounted capture with the slowest film/ISO possible, and ideally the most restricted/limited light possible, to force an understanding not only of photography as a record of light's path across a frame but also of time. The impact of time on an image, I feel, is the most overlooked element at play in photography, what with video supplanting the still image as a record of time, and with the developments of the modern camera having negated focus on time as an element at play (people photographing night scenes with their smartphones, for example, are wholly unaware of the time element and simply want a frozen moment).
Until recently I stuck with tried and true methods of long exposure capture: high f-stop/slow shutter speed, use of ND filters (always a huge fan of the 10-stop ND), and simply waiting until nightfall. Newer methods (though admittedly not that new, I'm just slow on the uptake) such as compositing only recently made their way into my workflow. What makes those methods great is that they "stack" well with the traditional capture methods, which is to say the former ceilings I used to run into with exposure length on account of engineering limitations (imaging sensors get HOT when you push them over "normal" exposure lengths) disappear. Even cooler, in the absence of an ND filter and even a tripod, technology has us at that point where we can simulate the traditional long exposure, very convincingly, with a series of handheld shots stacked together. And it's really, really cool to be able to do that!
Lately in the Flickrverse I've been actively corresponding with another talented photographer under the guise of the username Space is a Lonely Town (and just for the record, I really love that username tag, it should seriously be a band name or something). Some interest was expressed in the technique used to assemble a faux long exposure image from a series of otherwise disjointed frames, so two examples of images processed with the technique, before on the left and after on the right, are below.
This first image is an assemblage of only 10 exposures, each snapped at 1/60". The math is pretty straightforward - 10 exposures x 1/60" equals a single 1/6" exposure. Arguably I could've achieved that exposure time handheld anyway, but the end goal was to test how well alignment of multiple handheld images worked in the process. You can see for yourself below.


I first came across this trick watching a video by Tony Northrup on YouTube regarding why you don't need filters (some points I agree with Tony, others I don't, it's ultimately a matter of how much time you want to spend behind the monitor in the end). Whilst decrying the perceived need for neutral density filters (of which I will still swear by even with these fun new compositing techniques in my mental camera bag), Tony demonstrates a process by which one can shoot, handheld, a scene and use Photoshop to auto-align the images as separate layers, then convert them to smart objects and change their stacking mode to median. All very standard compositing techniques, really, but it seemed almost terrifying to consider stacking handheld images for the effects. I was certain there would have to be some aberration involved, too much difference from frame to frame for alignment to properly be made, but I'll be damned if I was wrong.
From start to finish, the process is stupidly simple, however the manipulation of smart objects in Photoshop is extremely taxing on computer resources and so the technique involves a bit of a "time tax" on the back end (which isn't really so bad given the time saved on the front end of the process, but again, if you prefer to front load your efforts, ND filters still win out). With the shot below, I started off with 15 frames snapped at 1/125". I loaded up the first in the series in Lightroom and smacked it with some basic edits akin to what I would apply to any single still image, copied those edits and pasted them across the whole range of 15. Lightroom features an automatic "Edit as Layers in Photoshop" option when you right-click on a selected series of images, at which point Photoshop chugs along converting the RAW files into workable image layers with the edits applied in Lightroom. With all the layers selected, there's an "Auto-Align Layers" function in the edit menu which does an unreasonably good job of aligning selected layers based on even the most organic of content (straight lines and reference points be damned). Next it's simply a matter of converting the layers to smart objects in the layers menu and changing their stacking mode to median, which is the trick that merges the pixel values in such a way that emulates long exposure.


So the original series of 15 exposures at 1/125" have become, essentially, a single 1/12" exposure. The added benefit which is really cool is in the noise reduction vicariously a part of composite imaging. These 15 exposures were shot at ISO 200, and because of the random nature of noise generated by imaging sensors, calculating median pixel values among each smart object reduces the more pointed variance at each pixel area. Again, it's easy math - 15 exposures at ISO 200 effectively equates to 1 exposure at ISO 13, which is crazy because digital sensors don't really go that low in and of themselves. In some areas of higher variation (where the motion is) the effect is less noticeable, but where the image is static (such as on the rocks themselves) the enhanced clarity and definition and quality of the pixel-level image information is pretty amazing. I easily see myself employing the trick in other still life or even real estate applications where large reproduction, be it a big print or UHD screen, is the end display medium goal.
Tonight I'm heading to a small workshop with the Creative Photography Society to see a presentation by Denise Silva on long exposure photography, and I'm super jazzed about soaking in the experience and practice of another photographer who enjoys the technique and perspective involved as much as I do. Admittedly, I do kind of have some ideas I want to exercise on my own at the same time, primarily a blend of several traditional and composited techniques to create a single stupid-long exposure style image. Time consuming, but how cool would it be to slap on a 10-stop ND filter and take several in-camera software composited images and then stack those as smart objects in Photoshop? I don't know... sounds like fun to me!

No comments:
Post a Comment